
If you’re looking to bring a spark of whimsy and wonder to your next celebration, you’ve just discovered the perfect centerpiece: the unicorn cake. With its enchanting pastel swirls, shimmering decorations, and fluffy layers, this cake is more than just a dessert—it’s a magical experience waiting to unfold in your kitchen. Whether you’re planning a themed birthday bash, surprising a loved one, or just feeding your creative side, this unicorn cake recipe will guide you every step of the way.
Table Of Contents
Key Benefits of Making Your Own Unicorn Cake
Before diving into the mixing bowls and frosting bags, let’s explore why this cake deserves a spot on your party table.
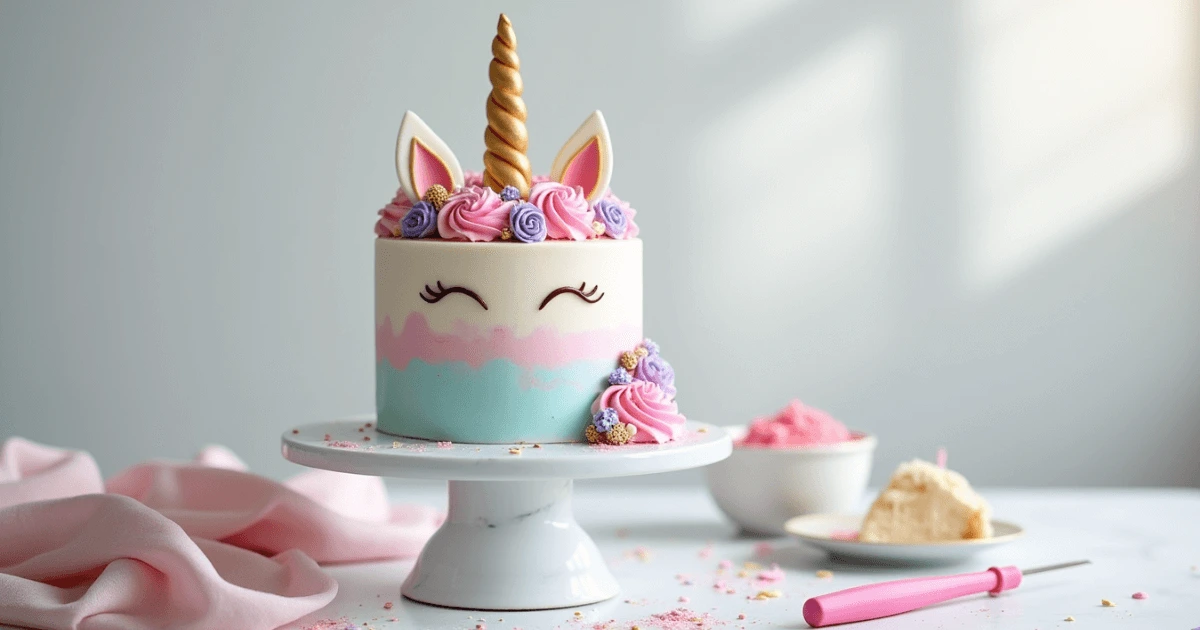
A Visual Showstopper
There’s no denying it—unicorn cakes steal the spotlight. Their dreamy colors and decorative details catch every eye and spark immediate joy. You’ll be surprised how easy it is to create that effect yourself.
Customizable for Any Occasion
Although unicorn cakes are popular at kids’ birthday parties, you can easily tailor them for baby showers, themed celebrations, or even as a fun weekend baking project. Change up the colors or decorations to match any mood.
A Creative Outlet
Let your imagination run wild. With countless frosting patterns, colors, and decorating options, you’ll get to express your personality in every swirl and sprinkle.
Delicious Inside and Out
This isn’t just about looks. Between the soft vanilla sponge, vibrant layers, and smooth buttercream frosting, you’re in for a treat that’s just as satisfying to eat as it is to see.
Ingredients You’ll Need
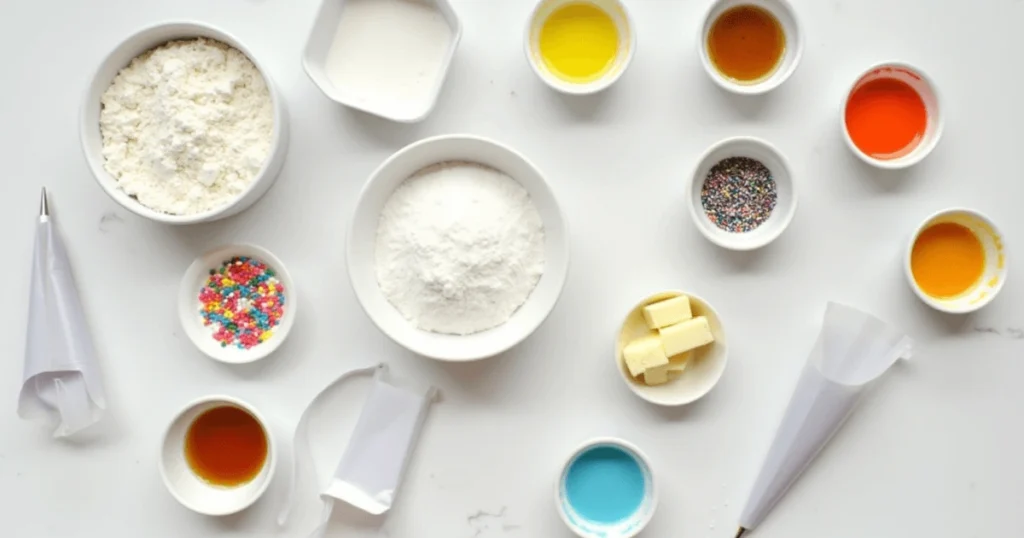
This recipe is broken into three parts: the cake layers, the buttercream frosting, and the decorations. Be sure to gather everything before you start for a smooth baking session.
For the Cake Layers:
- 315 g all-purpose flour
- 10 g baking powder
- 3 g baking soda
- 3 g salt
- 230 g unsalted butter (room temperature)
- 350 g granulated sugar
- 4 large eggs
- 15 ml pure vanilla extract
- 240 ml whole milk
- Gel food coloring (pink, purple, teal, yellow—your choice)
- Optional: rainbow sprinkles for a funfetti twist
For the Buttercream Frosting:
- 340 g unsalted butter (room temperature)
- 625–750 g powdered sugar (sifted)
- 10 ml vanilla extract
- 45–60 ml milk (adjust for desired consistency)
- Gel food coloring (to match or contrast cake layers)
For Decorating:
- Edible glitter or shimmer dust
- Sprinkles and sugar pearls
- The horn of the unicorn and the toppers for ear cakes (fondant or made from)
- Piping bags and tips
- Offset spatula for smooth frosting
Step-by-Step Instructions
Set yourself up for success by following these detailed steps. You’ll be amazed at what you can create when you take it one step at a time.
Step 1: Prepare the Cake Batter
- Preheat your oven to 175°C. Line three round cake pans.
- A medium-sized bowl mix together the flour baking powder, baking soda and salt. Set aside.
- A large mixing bowl is needed to mix the sugar and butter until it is light and fluffy (about three to five minutes).
- Beat all the eggs together, one at a time, and then include vanilla extract.
- Gradually add the dry ingredients and milk, alternating between the two, beginning and ending with the flour mixture.
- Divide the batter evenly into separate bowls—one for each color you plan to use.
- Stir in your chosen gel food coloring to each bowl until you achieve the desired shade.
Step 2: Bake the Colorful Layers
- Pour each batter color into the pans that you have prepared and then level the tops.
- Bake for 25–28 minutes, or until a toothpick inserted into the center comes out clean.
- Allow the cake to cool for about 10 minutes before transferring them to racks on wires to let them cool completely.
Step 3: Make the Buttercream Frosting
- Beat the butter at medium-high until it is light and creamy.
- Gradually mix in the powdered sugar in a gradual manner, 1 cup at a.
- Gradually mix in the powdered sugar in a gradual manner, 1 cup at a.
- Split the frosting in smaller bowls, and include food coloring gels as you like.
Step 4: Assemble the Cake
- If needed, you can the cake layers by with the serrated edge of a knife.
- Place the first cake layer on your serving stand or turntable and apply an even layer of frosting.
- Repeat the process for the remaining layers, stacking carefully.
- Place a thin coating of crumb all over the cake. allow it to chill for 20-30 mins to get it set.
- Once chilled, apply the final layer of frosting using your colored buttercream.
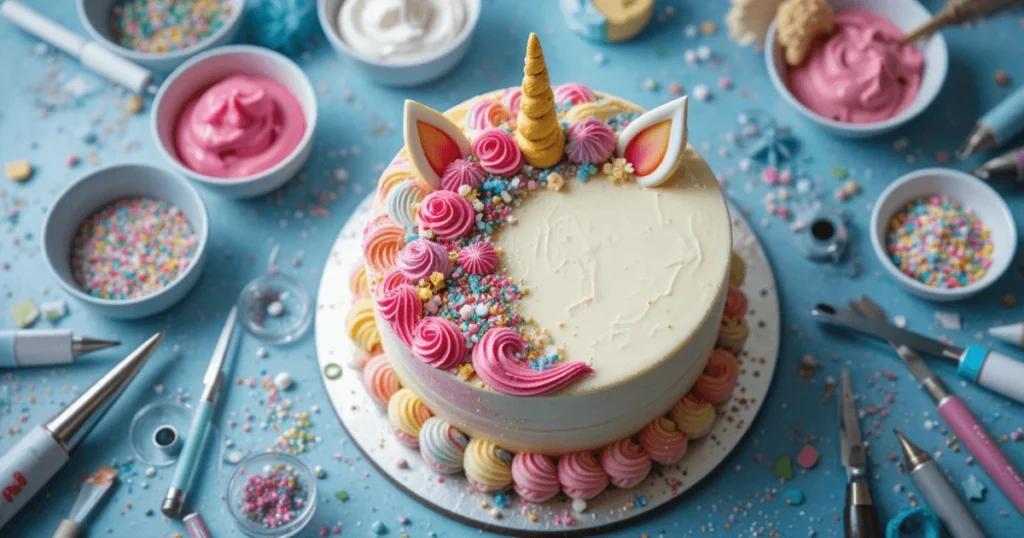
Step 5: Decorate Like Magic
- Use piping bags with star or round tips to add swirls, rosettes, or borders along the top and base.
- Insert the unicorn horn and ear toppers into the top of the cake.
- Add your finishing touches—edible glitter, pearls, sprinkles, or shimmer dust.
- Store in a cool area or refrigerator until it’s time to serve.
Pro Tips and Variations
It doesn’t require a pastry chef in order to make this cake. With a few expert tricks, you’ll get a professional finish even on your first try.
Decorating Tips:
- Use gel-based food coloring for vivid results without thinning the batter or frosting.
- Chill the cake layers before frosting to prevent crumbling and keep the structure firm.
- A turntable and offset spatula will give you better control and a smoother finish.
Fun Variations:
- Switch the flavor profile by using lemon, strawberry, or almond extracts instead of vanilla.
- Make the recipe dairy-free by using plant-based butter and milk alternatives.
- Create texture with shredded coconut, dried flowers, or crushed candies.
Serving Suggestions
Your unicorn cake is more than just a dessert—it’s a stunning centerpiece for any celebration. Make the most of your presentation with a few thoughtful details.
- Elevate the cake on a decorative stand for extra visual appeal.
- Complement it with themed tableware in pastel shades.
- Slice the cake using a warm knife to maintain clean, neat cuts.
- Pair each slice with a glass of plant-based milk, tea, or a fresh fruit drink.
Properly stored in the refrigerator and covered, your unicorn cake will stay fresh for 3–4 days.
Conclusion: A Slice of Magic Awaits
Creating your own unicorn cake may sound like a fantasy, but with this guide in hand, you’re ready to bring it to life. From the moment you mix the batter to the final dusting of glitter, you’re not just baking—you’re crafting joy, one layer at a time.
So go ahead—gather your ingredients, choose your colors, and enjoy the journey. The magic begins with you.
FAQs About Unicorn Cakes
Can I make a unicorn cake ahead of time?
Yes, and it’s highly recommended. You can bake the layers up to two days in advance and keep them wrapped at room temperature. Frosting and decorating can be done the day before the event.
What’s the best frosting for a unicorn cake?
Classic buttercream is the top choice. It holds up well for decoration, takes color beautifully, and has a smooth, creamy taste.
Can I make this cake without food coloring?
Definitely. If you prefer a natural look, skip the colors or use alternatives like freeze-dried fruit powders or plant-based tints.
Your Turn to Bake the Magic
You’ve got the recipe, the tips, and the confidence. Now it’s your turn to create something unforgettable. When you finish your unicorn cake, share the joy with others—it might just inspire someone else to start baking, too.
Ready to create something truly magical? Start your unicorn cake today.